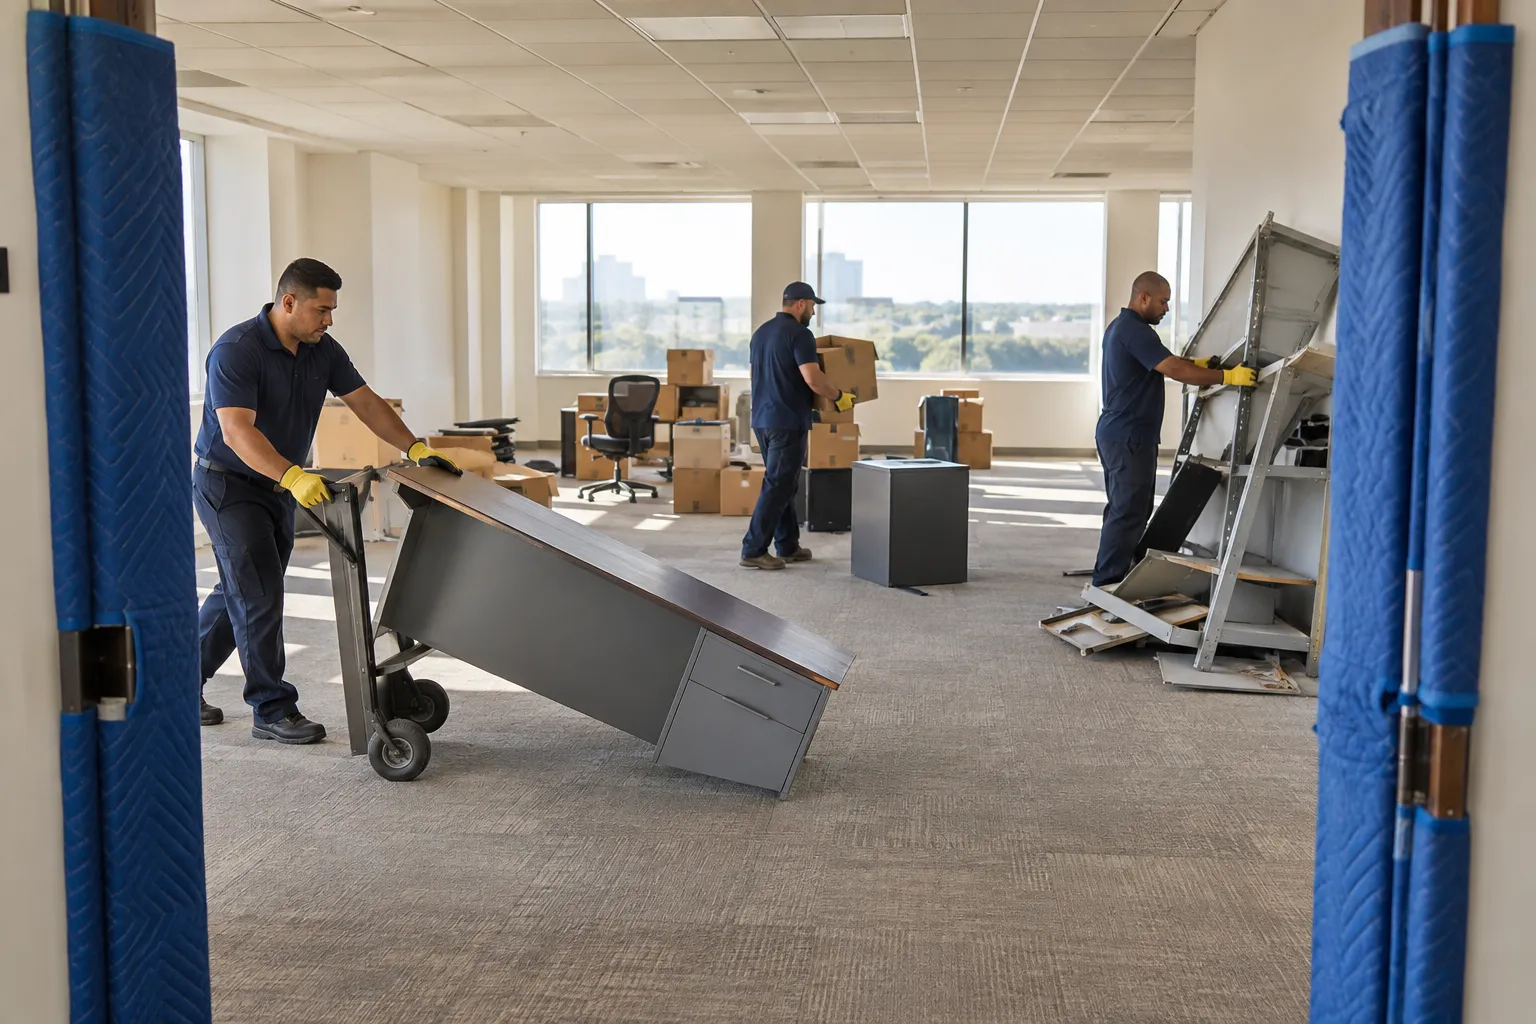
A practical sequence for sorting, access, approvals, and final walkthroughs before an office cleanout. Use this guide before you request a quote so the removal provider can understand the material, access, and timing.
Start with the space, not the truck
Walk each room and mark what stays, what leaves, and what needs a separate decision. Include shared storage, copy rooms, breakrooms, and anything tucked above cabinets. A simple room-by-room list prevents a usable item from leaving with the junk.
Name one decision-maker
Give the crew one on-site contact who can answer questions about uncertain items, access, and timing. If several departments are involved, collect approvals before removal day instead of resolving them in the hallway.
Prepare the route
Measure the largest items, confirm elevator or loading-dock access, reserve freight facilities where required, and remove confidential material. Keep fire doors, exits, and occupied work areas clear.
Build the removal list
Record furniture counts, approximate dimensions, floor level, stairs or elevator use, disassembly needs, and the distance from the items to the loading area. Photos help explain the job, but an on-site assessment may still be needed.
Finish with a walkthrough
Before the crew leaves, check offices, closets, loading areas, and the immediate work zone. Confirm that everything marked to stay is still in place and that approved material was removed.
Questions to ask the provider
- Is every material type on the list accepted?
- What access information could change the crew or equipment plan?
- Should anything be boxed, emptied, or disconnected before arrival?
- How will the on-site quote and approval work?
- What happens if the actual load differs from the photos?
Ready to plan the job?
Review the companion service page, then call with your item list and access notes.
Office Cleanouts